
Last updated October 30, 2026
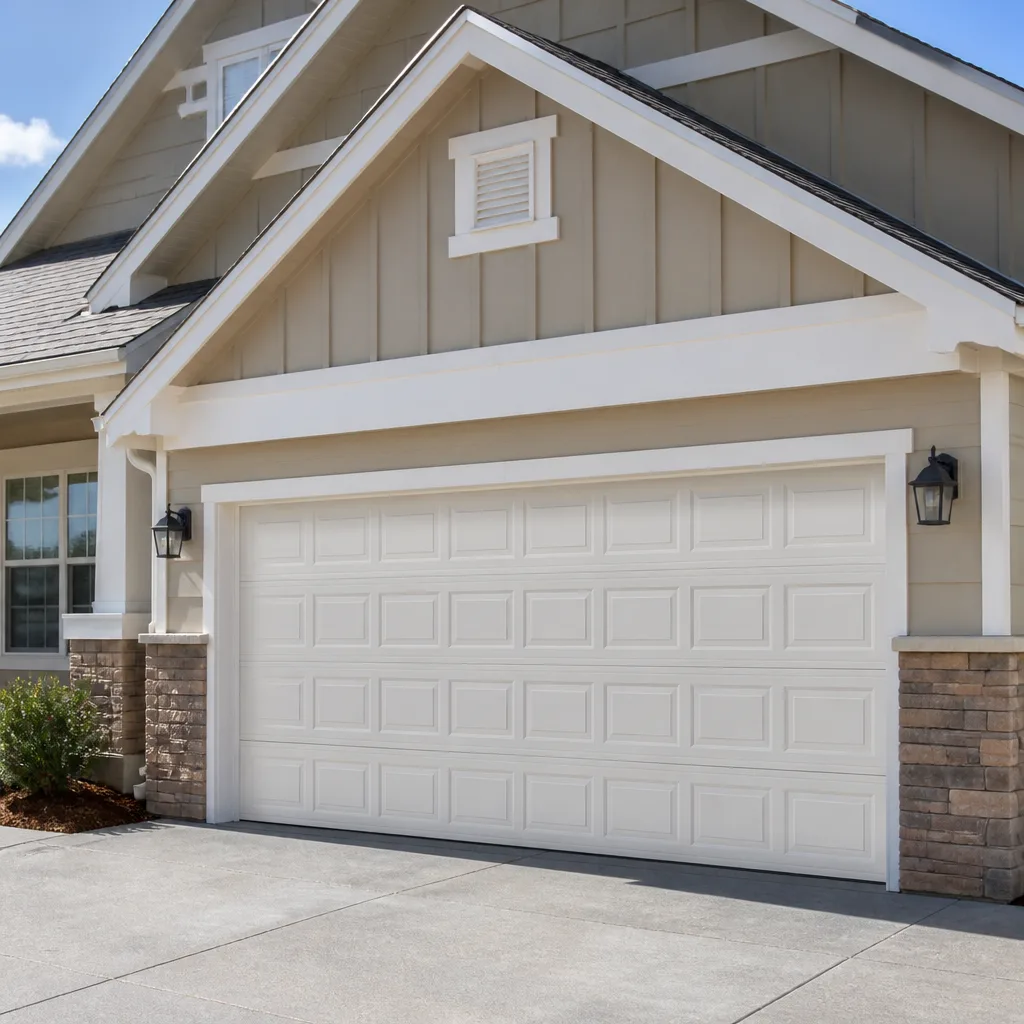 Raised-panel steel
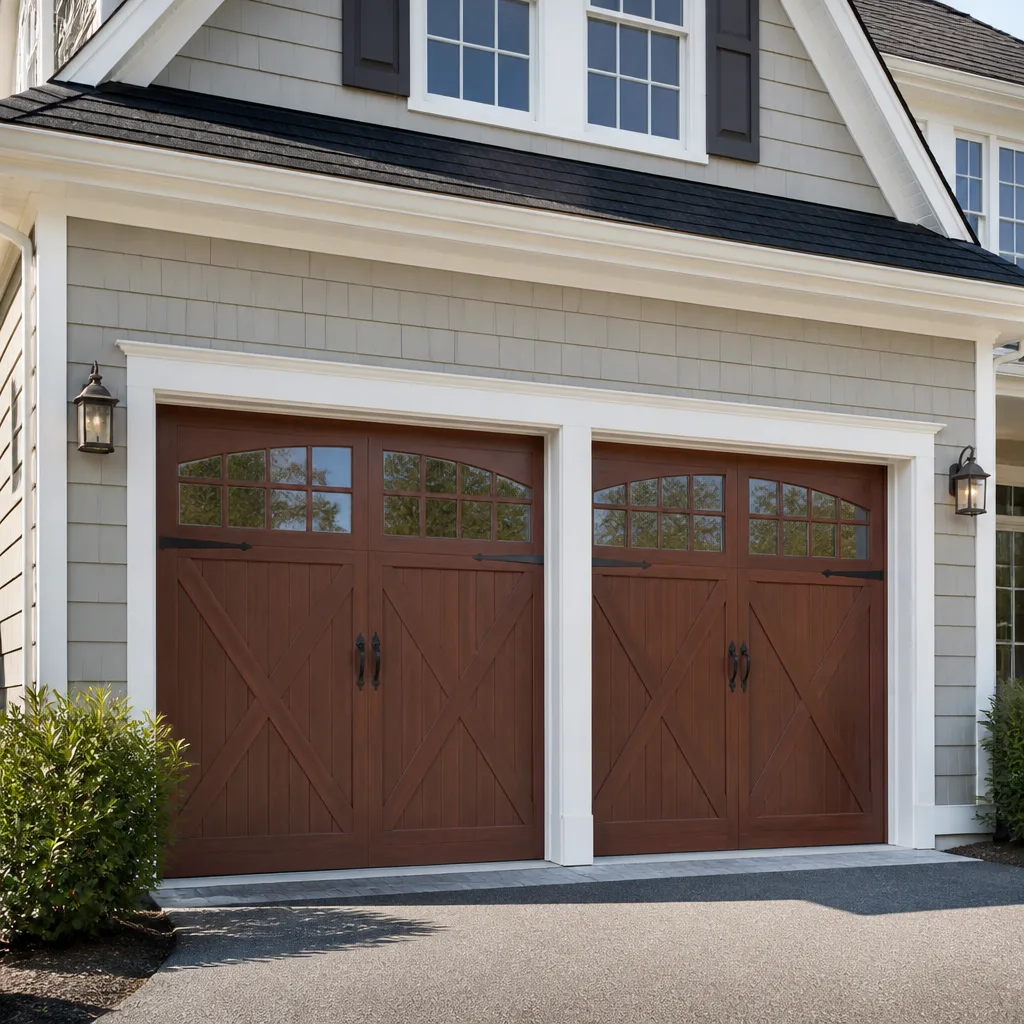 Carriage house
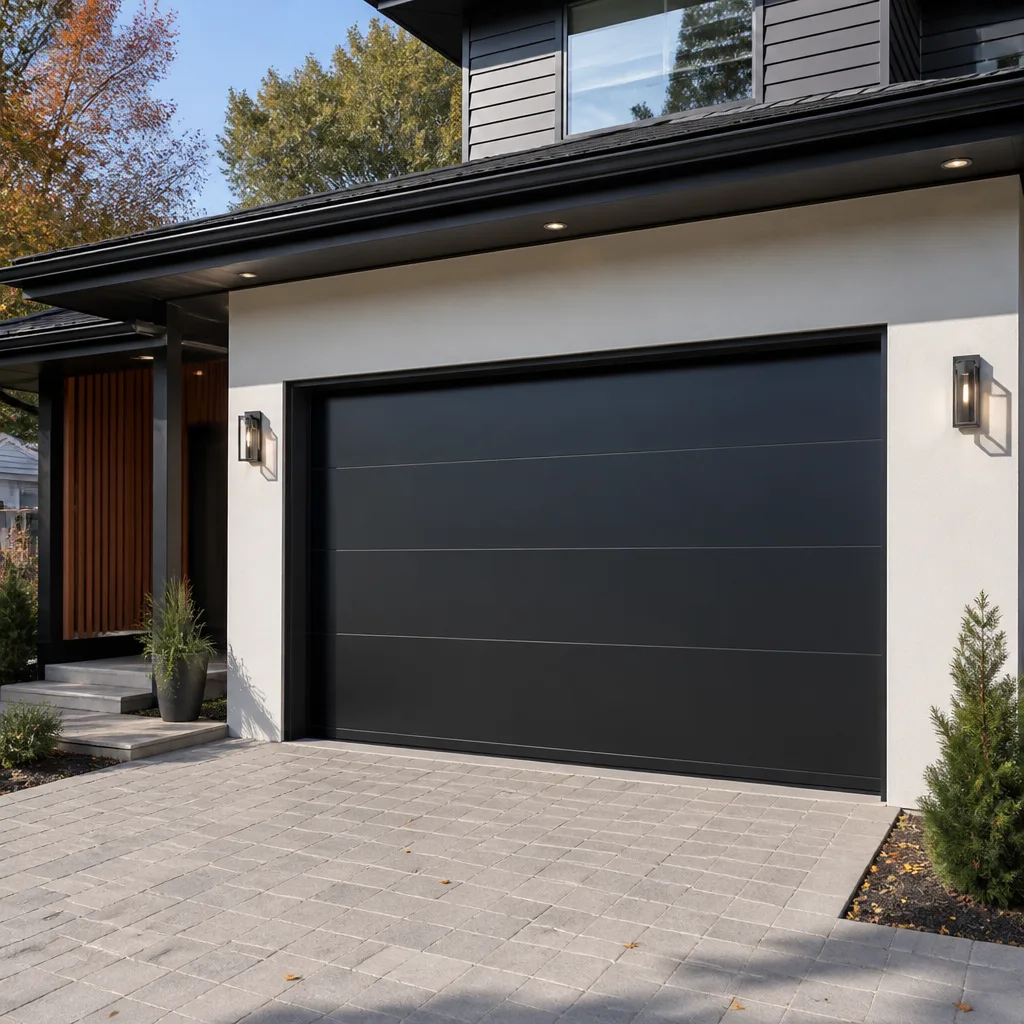 Modern flush
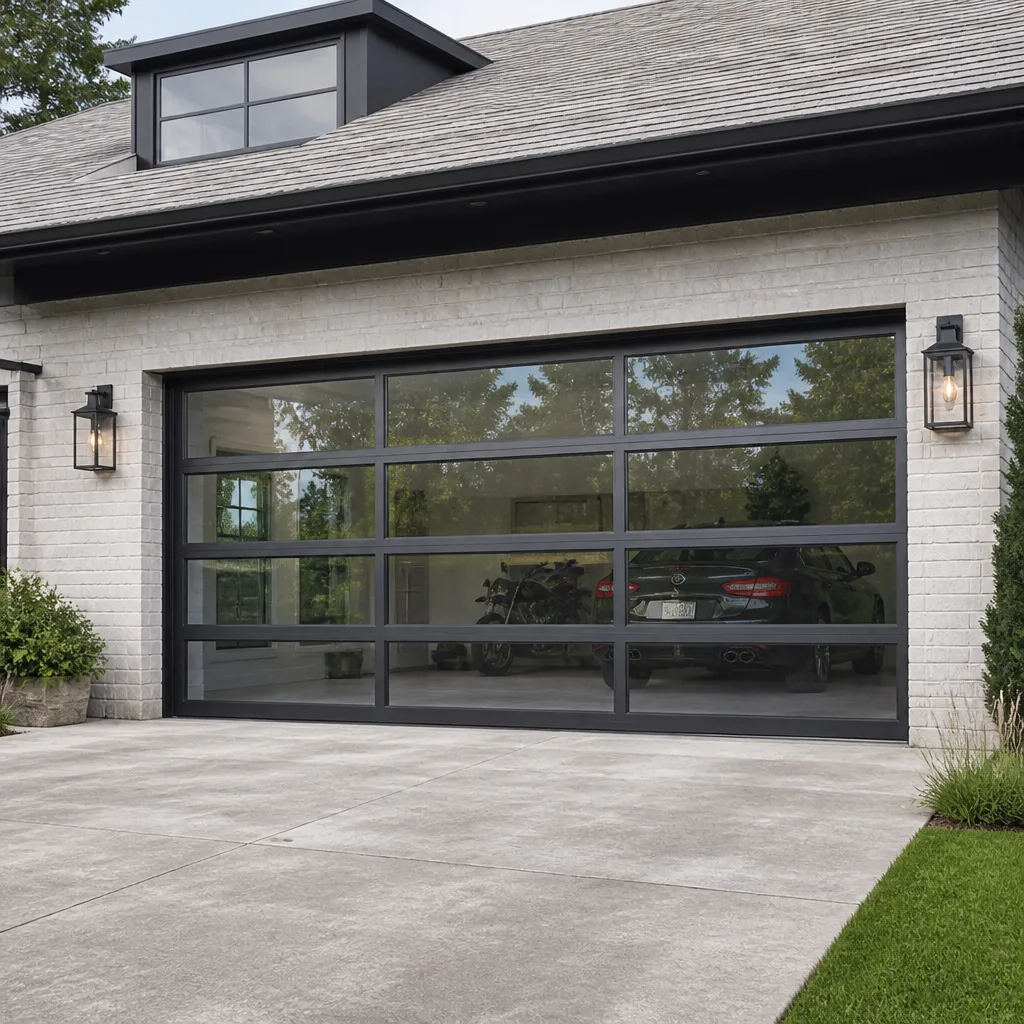 Full-view glass
 LiftMaster openers
 Chamberlain openers
Full 25-point door and opener safety check with every visit - springs, cables, rollers, tracks, and your LiftMaster or Chamberlain opener included
You get a price before we start. It does not change when the truck arrives.
Get your free estimateGarage Door Repair Troubleshooting: Common Problems and How to Fix Them
Here’s a number that surprises most Los Angeles homeowners: roughly 7 out of 10 garage door repairs we perform involve a component the homeowner never suspected. The door won’t open, so the opener gets blamed. A grinding noise, so the motor must be failing. But in our experience across every zip code from Woodland Hills to Silver Lake, the real culprit is usually something smaller, cheaper, and easier to misread: a misaligned sensor, a worn capacitor, a torsion spring that lost tension but hasn’t snapped yet. This guide works backward from what your door is actually doing – the sound it makes, the way it moves, the error code it flashes – and traces each symptom to the exact component responsible. By the end, you’ll know what you can safely check yourself, what you should never touch, and when a Los Angeles garage door specialist is the only sane option.
Styles & brands we work with
Quick Answer
Most garage door problems trace to one of five components: the safety sensors, the torsion springs, the opener’s logic board or capacitor, the track alignment, or the cables. Start with the three-second manual release test (pull the red cord, lift the door by hand) to isolate whether the problem is in the door mechanism or the opener itself. If the door is heavy, stuck, or makes a sharp popping sound, stop and call a professional – that’s spring or cable territory and it’s dangerous.
Table of Contents
- The Symptom-First Diagnostic Tree: Start Here
- Door Won’t Move at All? The Three-Second Release Test
- Door Moves Halfway, Then Stops or Reverses
- What That Sound Actually Means: Grinding, Scraping, Popping
- Reading Opener Error Codes: Chamberlain, LiftMaster, Genie, Craftsman
- Safety Sensor Problems: The Most Common False Alarm
- Spring and Cable Failures: The DIY Line You Don’t Cross
- Common Mistakes to Avoid
- When to Call a Professional
- Frequently Asked Questions
- The Bottom Line
The Symptom-First Diagnostic Tree: Start Here
Forget the parts diagram. The fastest way to diagnose a garage door problem is to describe what the door does when you press the button. In our service calls across Los Angeles, we see the same symptom patterns repeat regardless of brand – whether it’s a Wayne Dalton door in Pasadena or a Craftsman opener in Torrance. Here’s the tree we walk through on every diagnosis.
Symptom A: The door does nothing. No sound, no movement, not even a click. This points to the opener’s power supply, logic board, or a locked-out wall button. Check the outlet first (in Los Angeles garages, it’s often a GFCI that tripped), then look for a blinking light on the unit.
Symptom B: The opener runs, but the door doesn’t move. This is the classic broken-gear or broken-sprocket failure pattern, especially on older Chain-drive LiftMaster and Craftsman units. The motor hums, but the drive gear’s teeth have stripped. You’ll hear the motor spinning freely.
Symptom C: The door moves a few inches, then reverses. Almost always the safety sensors or the force-sensitivity setting. The opener’s logic interprets resistance as an obstruction and backs off. We cover this in the sensor section below.
Symptom D: The door opens partway, then stops with a grinding or strained sound. This is usually spring tension, a bent track, or a roller that’s seized. When a torsion spring loses tension, the opener suddenly has to lift the full weight of the door, which trips the motor’s overload protection.
Symptom E: The door opens fine but slams on the way down. A broken spring on the lift cycle is less common than on the lower cycle, but when the door drops fast, it means the spring isn’t counterbalancing the weight anymore. This is a stop-and-call situation.
One note for Los Angeles homeowners specifically: our garage doors work harder than most. The combination of canyon heat in summer, salt air near the coast, and the sheer number of open-close cycles for car-dependent households shortens spring and roller life compared to national averages. We’ll reference this throughout the guide.
Door Won’t Move at All? The Three-Second Release Test
This is the single most useful diagnostic step in garage door repair, and most troubleshooting guides skip it entirely. It takes three seconds and tells you whether your problem is in the opener or the door itself.
Here’s how it works:
- Find the red emergency release cord hanging from the trolley on the rail. Pull it straight down once.
- This disconnects the door from the opener carriage.
- Now lift the door manually by the handle.
- What you feel tells you everything.
If the door lifts easily and stays in place when you let go: Your springs are healthy, the track is aligned, and the rollers are fine. The problem is in the opener – the logic board, the capacitor, the gear, or the power supply. This is where opener-specific repair comes in, and why we treat garage door opener repair in Los Angeles as its own specialized service. Your opener is its own system with its own failure points.
If the door is heavy, drops, or won’t stay up: The opener is fine. The problem is in the door’s counterbalance system – the torsion or extension springs – and those are under dangerous tension. Do not attempt to lift the door completely or remove any hardware. The spring is doing (or failing to do) the heavy lifting, not the motor. Most Raynor and Wayne Dalton doors in Los Angeles use torsion springs mounted above the opening, and when one fails, the door weight can exceed 150 pounds.
If the door binds, sticks, or scrapes at a specific point: You feel resistance in the track or the panels. Look for a bent section of track, a dried-out roller, or an obstruction in the path. The opener may have been fighting this resistance for weeks before finally shutting down.
We perform this test on every call before touching any components. It prevents the single most common misdiagnosis in the industry: replacing an opener that isn’t broken because a spring failed silently. In Los Angeles, where garage doors are often the primary entry point to the home, this test saves homeowners the cost of a needless opener replacement. If you’re not comfortable pulling the release cord, skip it and have a pro do it – but make sure any technician you call does this before quoting you a new motor.
Door Moves Halfway, Then Stops or Reverses
This symptom pattern is the most frustrating because it’s intermittent. The door starts moving, then gives up and reverses like it changed its mind. In Los Angeles garages, this is the most common call we get after homeowners have already tried to fix it themselves.
Here’s what’s actually happening, in order of likelihood:
1. The safety sensors are slightly misaligned. The infrared beam between the two sensor eyes near the floor is broken, and the opener’s logic interprets that as “something is in the way.” The sensors don’t need to be completely disconnected – a millimeter of misalignment can do it. Sunlight is a notorious trigger in Los Angeles. Morning or late-afternoon sun hitting the receiver sensor can wash out the infrared signal, causing the door to reverse randomly. We see this most in east-facing garages in the San Fernando Valley.
2. The force-adjustment setting is too low. Every opener has a force dial or digital setting that controls how much resistance the motor will push through before reversing. As doors age and rollers wear, they need slightly more force. When the setting is calibrated for a new door but the door is ten years old, the opener reverses because it feels more resistance than it expects. This is a two-minute adjustment on most LiftMaster and Genie units, but it’s easy to overshoot and create a safety hazard.
3. A roller has seized or the track is pinched. When one roller stops rolling and starts dragging, the door pulls to one side. The opener feels the uneven load and backs off. Look at the track for shiny wear marks or a visible gap where the track has been hit by a car bumper. Los Angeles garages are tight, and track damage from a car is not rare.
4. The capacitor is failing. On newer openers with DC motors, the capacitor is what gets the door moving from a stop. When it’s failing, the door starts, stops, then reverses because the motor can’t sustain the initial torque. This is one of the most commonly misdiagnosed parts in our service area. Homeowners are told they need a new opener, when the actual fix is a $12 to $40 component.
Here’s the takeaway for Los Angeles homeowners: if the door opens from a different button (like the wall console) but not the remote, or vice versa, you just narrowed the problem dramatically. Test both. The remote’s logic and the wall button’s logic are separate inputs to the opener’s board. And if you’re staring at a door that reverses at the same spot every time, look at the track at that exact point – something is physically obstructing or binding there. Run your hand along the track (carefully, when the door is disengaged) and feel for a burr or a bolt that’s backed out.
For a full breakdown of this exact failure pattern, our garage door repair page for Los Angeles covers the steps a technician follows on a reverse-cycle diagnosis.
What That Sound Actually Means: Grinding, Scraping, Popping
Your garage door speaks to you. Most homeowners ignore what they hear until it stops working, but the sound the door makes tells you the exact component failing – often weeks before the door fails completely. Here’s the audio decoder we use in our Los Angeles service calls.
Grinding or a strained metallic sound during operation. This is the classic symptom of a failing torsion spring. The spring doesn’t snap all at once – it loses tension progressively, which changes the way the coils rub against each other. On Clopay and Amarr doors, the sound is often a low grumble that gets worse as the door lifts. It can also indicate worn bearings in the spring’s center bracket. If you hear grinding, professional garage door repair in Los Angeles is the move now, not later.
Scraping, like metal on metal. A roller has lost its ball bearings or the track has been bent. The door is dragging along the rail instead of rolling. This is common on older Los Angeles homes where the original rollers were never replaced – look at the roller itself. If it’s worn to a flat spot or if the wheel wobbles on the stem, every cycle is doing more damage.
Popping. A loud, sharp pop that happens once, usually when the door is in the up or down position, is the sound of a torsion spring snapping – or a cable letting go from its drum. After the pop, the door will either drop fast on the next cycle or refuse to move. If you hear this and the door is still partly open, do not stand under it. Do not try to operate it. A door with a snapped spring can drop without warning. This is a stop-everything and call situation, and any reputable Los Angeles garage door company will tell you the same thing.
Squeaking or chirping. Annoying, but usually not a structural concern. Lubricate the hinges, rollers, and bearings with a silicone-based spray. Do not use WD-40 – it’s a solvent, not a lubricant, and it’ll wash out the existing grease and make the squeak worse. In dusty pockets of Los Angeles like the northeast Valley, dust mixes with grease on the track and creates a gritty paste. Clean the track with a dry rag before lubricating.
Squealing or a high-pitched whine from the motor unit. On Chaimberlain and LiftMaster belt-drive openers, this is often a failing drive gear or a belt that’s slipped off tension. On Genie screw-drive units, it’s the screw drive losing lubrication. Each brand has its own acoustic signature, and that’s exactly why brand-specific experience matters. A technician who’s seen a hundred Raynor failures may still misread a LiftMaster because the designs are genuinely different.
One more Los Angeles-specific note: garage doors near the coast pick up salt in their springs and hardware. That salt accelerates corrosion and changes the sound profile sooner than inland doors. If your garage is within three miles of the ocean, plan to replace springs more often and listen for changes earlier.
Reading Opener Error Codes: Chamberlain, LiftMaster, Genie, Craftsman
Your opener is already trying to tell you what’s wrong. Every major brand has a diagnostic light pattern – a series of blinks – that maps to a specific fault. Here’s how to read the most common ones without opening a PDF. This section covers four brands we service frequently: Chamberlain, LiftMaster, Genie, and Craftsman.
Chamberlain and LiftMaster (same parent company, same error language):
- One blink up, one blink down: Sensor obstruction or misalignment. The opener’s safety system is detecting something in the beam path. This is the most common error in Los Angeles garages with high ambient sunlight.
- Two blinks: Sensor wiring is shorted or the sensor itself has failed. If they’re sealed sensors, you’ll need a replacement pair.
- Four blinks: The door is hitting something or the force setting is tripped. The motor is sensing resistance it can’t overcome.
- Five blinks: The logic board has a fault. On older LiftMaster units, this is often a failed capacitor on the board itself – a component-level repair many companies won’t do, but we do.
Genie:
- Red light on, solid: The safety sensors are blocked or the beam is misaligned.
- Red light blinking twice: The opener’s force control is set incorrectly, or the door is out of balance.
- Red light blinking four times: The safety sensor circuit is open or shorted.
- Nothing at all: No power to the unit or the wall button’s wiring harness is disconnected. Some Genie units have a lock feature – if the wall console’s lock button is engaged, the remotes won’t work even though the opener has power.
Craftsman:
Craftsman openers made after 2006 use the same error-code logic as Chamberlain, because they’re built in the same facilities. The blinking pattern on the back of the motor unit corresponds to the same faults: one blink for sensors, two for wiring, four for force. But older Craftsman units from the 1990s and early 2000s use a different system entirely – they have a diagnostic LED that blinks in a short-long pattern, and many homeowners misread it. On those older units, look for a sticker on the side of the motor housing with the code table. If the sticker is missing or faded (common in sunny Los Angeles garages), write down the pattern and have a technician interpret it – it’s not guessable.
The key insight: error codes tell you where to look, not what part to replace. A four-blink code on a Chamberlain doesn’t mean the motor is dead – it means the door was too heavy, which points back to the springs. We diagnose that distinction on every call. The garage door opener repair service we offer in Los Angeles includes reading the error code, testing the underlying door mechanics, and replacing only what actually failed.
Safety Sensor Problems: The Most Common False Alarm
If your door reverses immediately after starting to close, and the main light on the opener flashes ten times, your safety sensors are the problem. This is the single most common failure pattern in residential garage doors, and it’s also the most commonly misdiagnosed. Homeowners swap out sensors, replace openers, and still have the same problem because they never found the root cause.
Here’s what’s actually happening. The two sensor eyes near the floor send an invisible infrared beam across the door opening. If that beam is interrupted, the opener’s logic assumes a child, pet, or object is in the way and refuses to close. The sensors don’t know the difference between a soccer ball and a dusty lens – they just see “beam broken.”
The most common causes in Los Angeles garages:
- Sunlight saturation. Direct sunlight hitting the receiving sensor overwhelms the infrared signal, making the opener think the beam is blocked. This is why the door works at night but not in the morning – the sun hits the sensor at a specific angle. We see this constantly in east-facing Los Angeles garages, particularly in neighborhoods like Highland Park and Eagle Rock.
- A slight bump. A trash can, a bike, or a kid’s scooter nudges the sensor bracket out of alignment. The beam misses the receiving lens by a fraction of an inch. It looks fine. It isn’t.
- Wiring damage from pests. Rodents chew sensor wires in Los Angeles garages more than homeowners expect. The exposed copper touches the metal track or the concrete floor, creating a short. The sensor light stays solid green instead of blinking, and the opener reads it as obstruction.
- Dust and spider webs. A spider building a web across the sensor lens is enough to scatter the beam. This is more common in older Los Angeles homes with exposed rafters and less airtight garages.
What to check, in order:
- Look at both sensor lights. On most brands, one sensor has a green light and one has an amber or red light. If either is off, blinking, or dim, you have your answer.
- Wipe both lenses with a dry cloth. Not a wet one – you don’t want to push dust into the housing.
- Check the alignment by eye. Both sensors should point directly at each other, level with the floor. If one looks tilted or shifted, nudge it back gently until the lights stop blinking.
- Look at the low-voltage wire running from each sensor up the track. If the door has been operating for years without issue, the constant vibration can wear through the insulation at the bracket.
- Test at different times of day. If the door works at night but not in the afternoon, sunlight is the culprit. Shield the sensor with a small piece of cardboard or a pipe cover. Some homeowners in sunny parts of Los Angeles install a small visor over the sensor and the problem disappears permanently.
If the door still reverses after all of this, the sensor itself may actually be failed – it happens. But before you replace anything, do the test: swap the two sensors (they’re often identical). If the problem follows the sensor, replace it. If the problem stays in the same position, the issue is the wiring, not the sensor. This simple isolation saves many Los Angeles homeowners the cost of a service call we’d have made in five minutes.
Spring and Cable Failures: The DIY Line You Don’t Cross
Here’s the part of the guide where we stop being helpful about DIY and start being blunt. Torsion springs and lift cables on a residential garage door are under enough tension to cause serious injury or death when they fail. The spring above your door in Los Angeles is wound with enough stored energy to lift 130 to 400 pounds – and when it snaps, that energy releases instantly.
What you can safely inspect:
- Look for a visible gap in the torsion spring. If you see a break or a separation in the coil, the spring is failed. Don’t touch it. Don’t try to wind a new one. Call a professional.
- Look at the cables on each side of the door. If you see fraying, individual wire strands poking out, or a cable that’s slack instead of tight, stop. A cable that snaps under tension can whip across the garage with enough force to cause serious laceration.
- Check the spring’s center bracket and the cable drums. If the bolts look loose, the drum is cracked, or there’s metal dust on the floor beneath the spring, the system is failing.
What you should never attempt:
- Winding or unwinding a torsion spring. The winding bars are specialized tools, and even with the right tools, the technique is not something to learn from a YouTube video. A single mistake can snap a wrist or worse.
- Replacing a lift cable. The cable wraps around a drum under spring tension. If the spring isn’t unwound first, the cable will take your hand with it.
- Removing a bottom bracket. That bracket is held by the same tension cable. Loosen the wrong bolt and the bracket becomes a projectile.
In our Los Angeles service calls, we regularly see doors where a homeowner attempted a spring repair after watching a tutorial. The result is always uglier and more expensive than the original problem: bent tracks, stripped drums, broken panels where the door fell. On Wayne Dalton and Raynor doors, which use non-standard spring configurations, the risk is even higher because the tools and torque specs differ by model.
The honest truth: a spring replacement is one of the cheaper repairs we do, and it’s over in an hour. The cost of the spring is modest; the labor and the safety expertise are what you’re paying for. If you suspect a spring or cable issue, call a Los Angeles garage door repair specialist and let us handle it. The risk isn’t worth the savings.
Common Mistakes to Avoid
Over a decade of service calls in Los Angeles, we’ve seen the same mistakes repeat. Here are the ones that cost homeowners the most money and frustration.
- Replacing the opener when the spring is the problem. If the door passed the manual release test (heavy, hard to lift), the opener was never the issue. A new motor won’t lift a door that’s unbalanced. In Los Angeles, where garages double as storage and laundry rooms, this mistake often happens when a door fails at the worst possible moment and homeowners feel pressure to act fast.
- Lubricating with WD-40. WD-40 is not a lubricant for garage door rollers and hinges. It degrades the existing grease and accelerates wear. Use a silicone or lithium-based garage door lubricant on the rollers, hinges, and bearings only.
- Adjusting the force settings without understanding them. Turning the force dial up to “fix” a door that reverses can override the safety mechanism. The door will close, but it’ll also crush anything in its path – including a child or pet. If the door needs more force, the underlying problem is the door, not the setting.
- Ignoring the sound until the door fails completely. That grinding noise was the spring telling you it was failing. Waiting until the door won’t open at all turns a $200 repair into a $700 emergency call. Los Angeles homeowners who park on the street and use their garage for storage often don’t notice a sound until the door stops moving entirely.
- Buying generic parts for a brand-specific door. A Raynor door doesn’t take Wayne Dalton hinges, and a Chamberlain opener doesn’t take a Genie logic board. We work on your brand, and using the right parts is part of that.
- Skipping the release test and assuming the worst. Some homeowners replace the entire opener based on a YouTube diagnosis, spend $500, and then find out the original problem was a $15 sensor. Do the three-second test first. It costs nothing.
- Letting a generalist handyman touch the door. Garage doors are a specific trade with specific failure modes. In Los Angeles, where homes range from 1920s Spanish bungalows to 1990s track housing, a handyman who “did a garage door once” is a very different thing from a technician who’s diagnosed five Raynor springs this month.
When to Call a Professional
Here’s the short version. Call a professional if the door is heavy when you lift it manually, if you hear a pop and the door drops, if you see a broken or gaping spring, if a cable is frayed or loose, if the track is visibly bent or pulled away from the wall, or if the opener flashes an error code you can’t interpret. Those are the scenarios where guessing costs more than calling. You can troubleshoot sensors, remotes, and alignment all day. But springs, cables, and tracks under tension are not DIY territory, and the line between “fixed it myself” and “hospital visit” is very short. If you’re in the Los Angeles area and need a diagnosis, Chaparral Garage Door Repair offers free estimates – call (866) 472-6497 and we’ll tell you what’s actually wrong before any work is quoted.
Frequently Asked Questions
Most garage door repairs in Los Angeles fall between $120 and $450, depending on the component. A sensor replacement or alignment is on the lower end, a broken spring replacement runs $200 to $350, and a full opener replacement with installation can exceed $500. The price depends on the door’s brand, age, and whether the spring is a standard or custom size. Chaparral Garage Door Repair gives you the exact price before any work starts – call (866) 472-6497 for a free estimate.
For most repair scenarios, yes. We prioritize same-day service for Los Angeles homeowners with a door that won’t open or close at all, because a garage that doesn’t open means no car, no commute, and no school run. Spring replacements and sensor issues are typically same-day fixes. New door installations require a measurement and ordering time and are scheduled separately.
This is the safety sensor system working. The sensors near the floor detect something in the beam path, or the beam is misaligned, or the force setting needs adjustment. Start by checking the sensor lights – if one is blinking or off, clean the lens and straighten the sensor. If sunlight is hitting the receiver, shield it. If the problem persists, the sensor wiring or the sensor itself may need replacement.
Loud grinding, scraping, or popping sounds are worn or failing components: a dry torsion spring, a seized roller, a loose bearing plate, or a cable about to let go. Squeaking is often just a need for silicone-based lubrication. Popping is a spring snapping – that’s a stop-and-call situation. Chaparral Garage Door Repair services all major brands in Los Angeles and can isolate the sound in minutes.
We work on your brand. Chaparral Garage Door Repair services eight of the most widely installed residential garage door and opener brands in the United States: LiftMaster, Chamberlain, Genie, Clopay, Amarr, Wayne Dalton, Craftsman, and Raynor. We diagnose and repair your specific system, not a generic substitute.
No. We quote the full price before starting any work, and the number doesn’t change unless the scope does – and if that happens, we stop and explain it before anything additional is done. The price is agreed before work begins, every time.
The Bottom Line
The fastest way to fix a garage door problem is to stop guessing and start isolating. Work from the symptom – the way the door moves, the sound it makes, the error code it flashes – back to the component. Pull the release cord and lift the door by hand. If it’s heavy, it’s the springs. If it’s light, it’s the opener. Respect the danger of springs and cables, and don’t let a generalist tell you they’re “pretty sure” about a diagnosis. Garage doors, exclusively – that’s our trade, and it’s the only thing we do. Chaparral Garage Door Repair serves Los Angeles homeowners with brand-specific diagnosis and repair. Call (866) 472-6497 for a free estimate, or browse our garage door installation services in Los Angeles if a new door is the better move.
Written by the team at Chaparral Garage Door Repair, serving Los Angeles since 2018.
See the difference
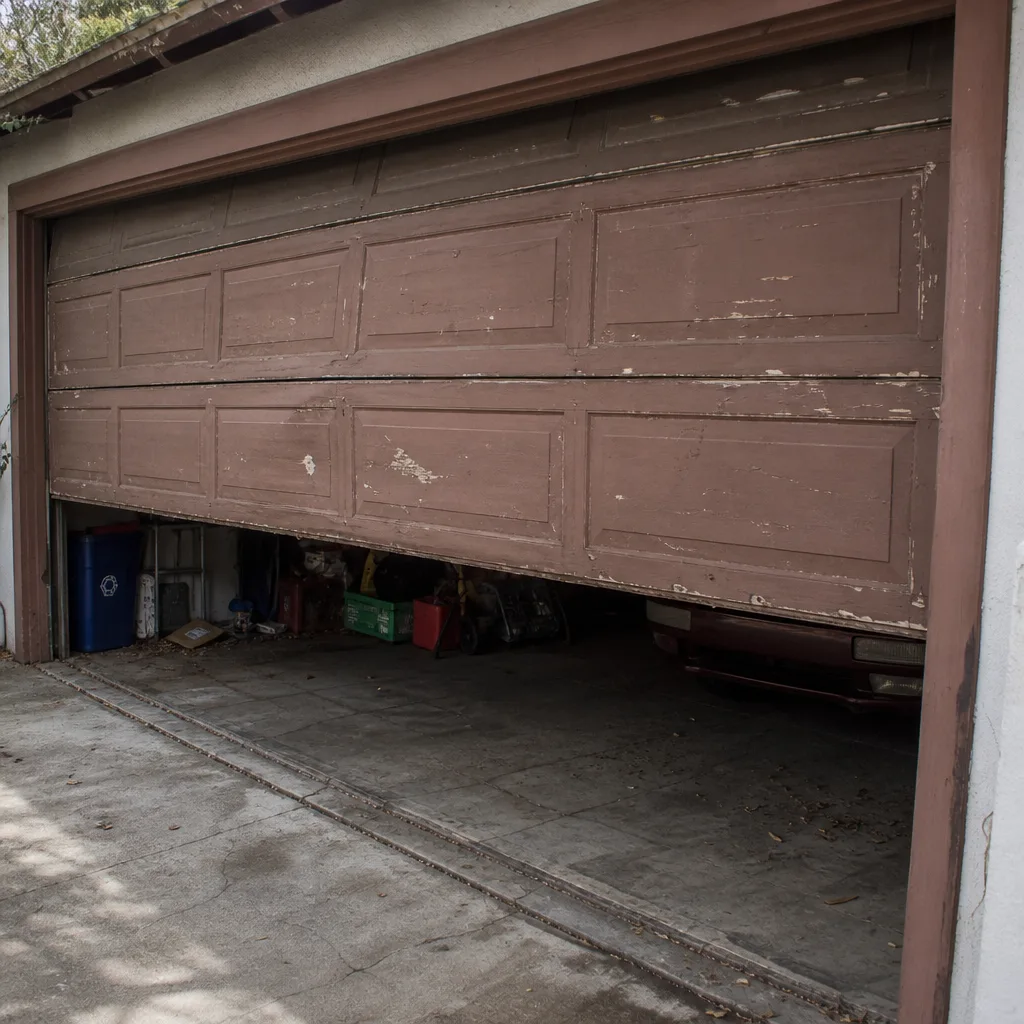 Before
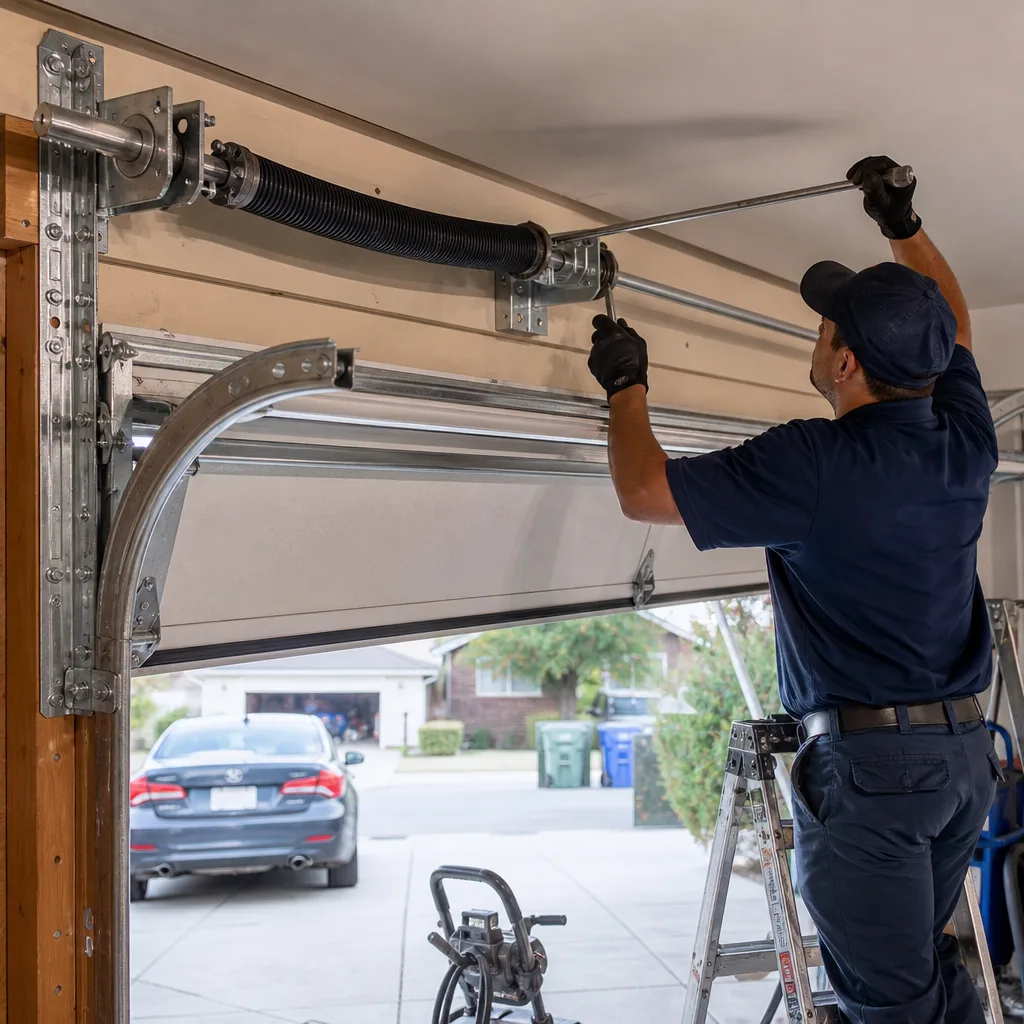 After
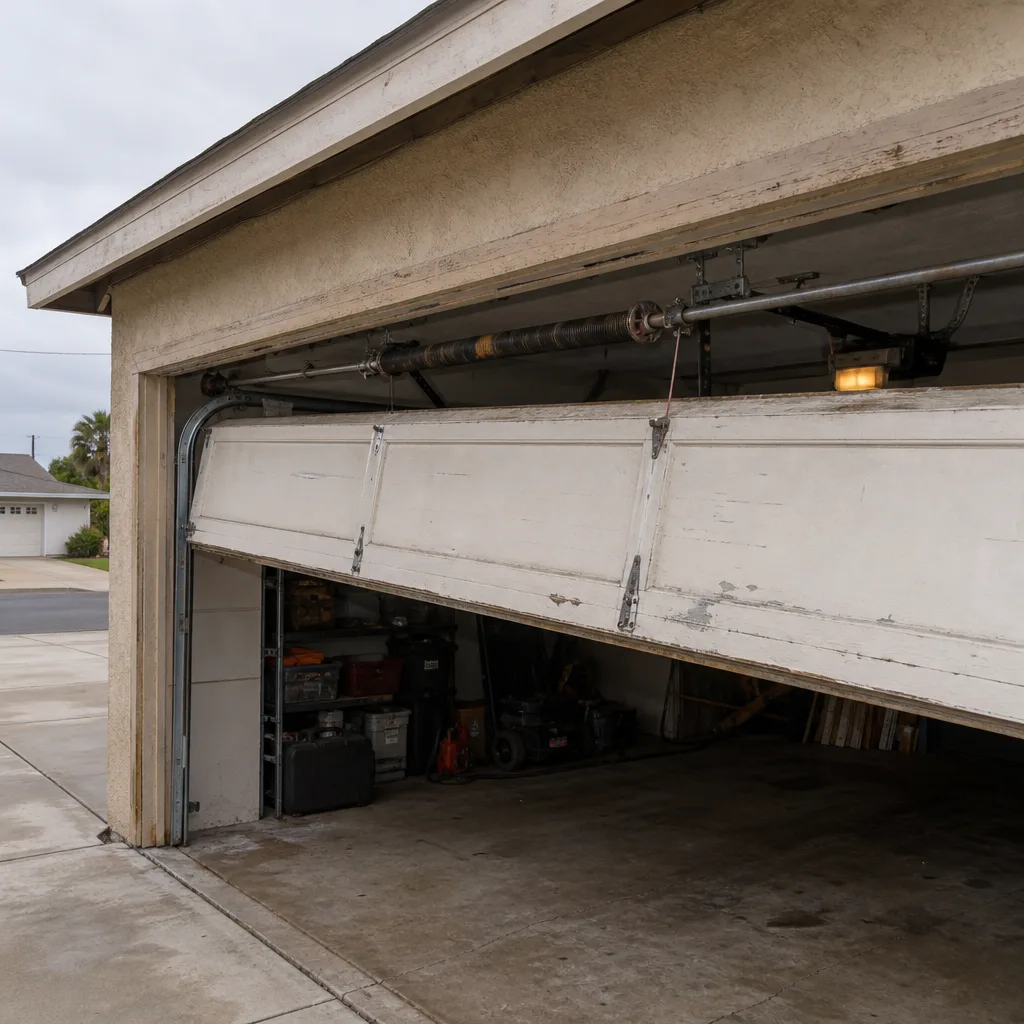 Before
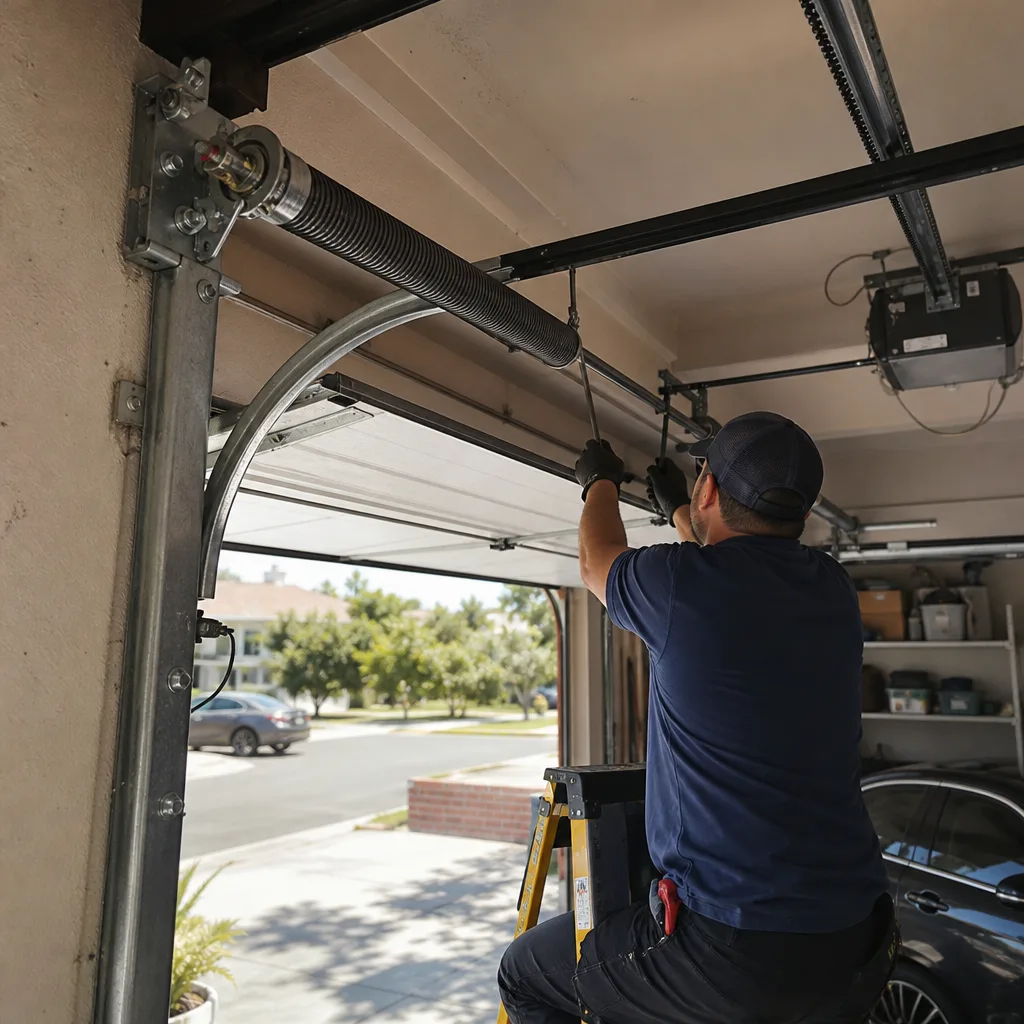 After
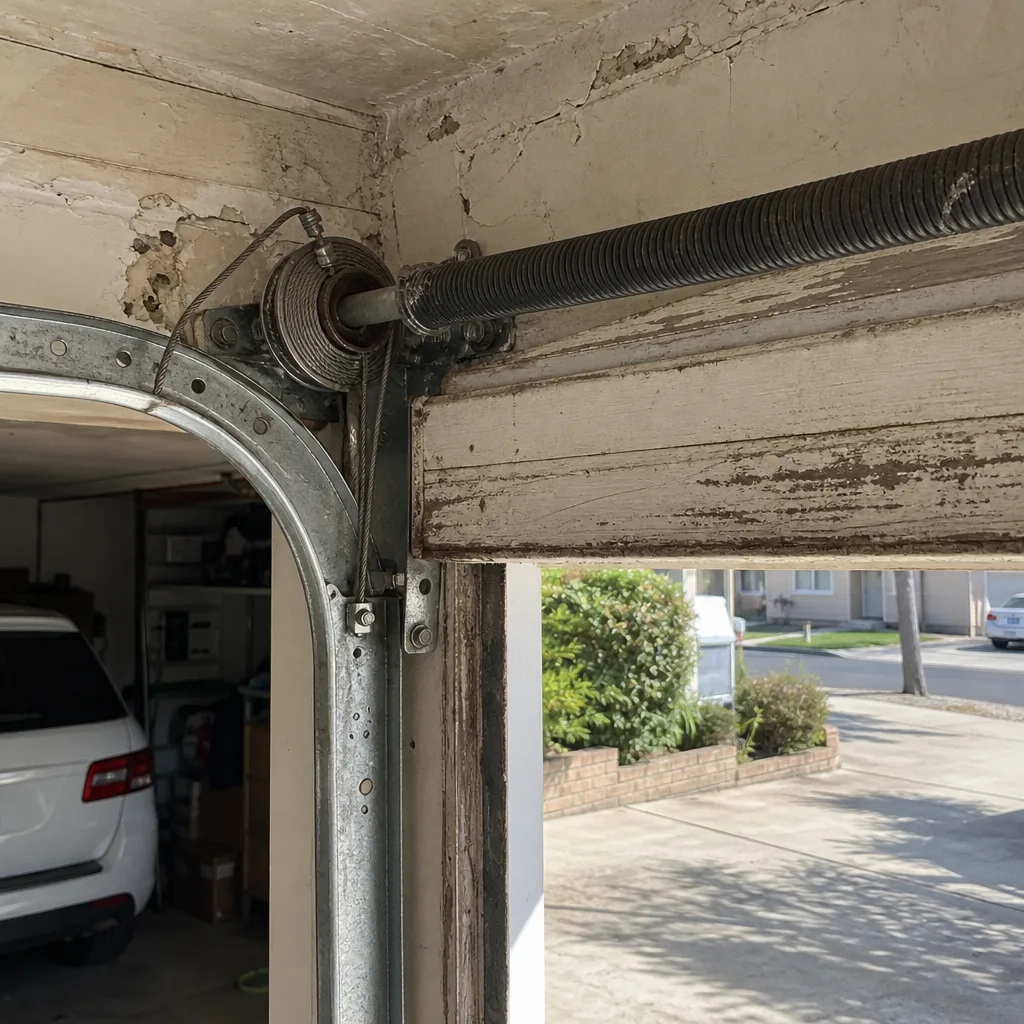 Before
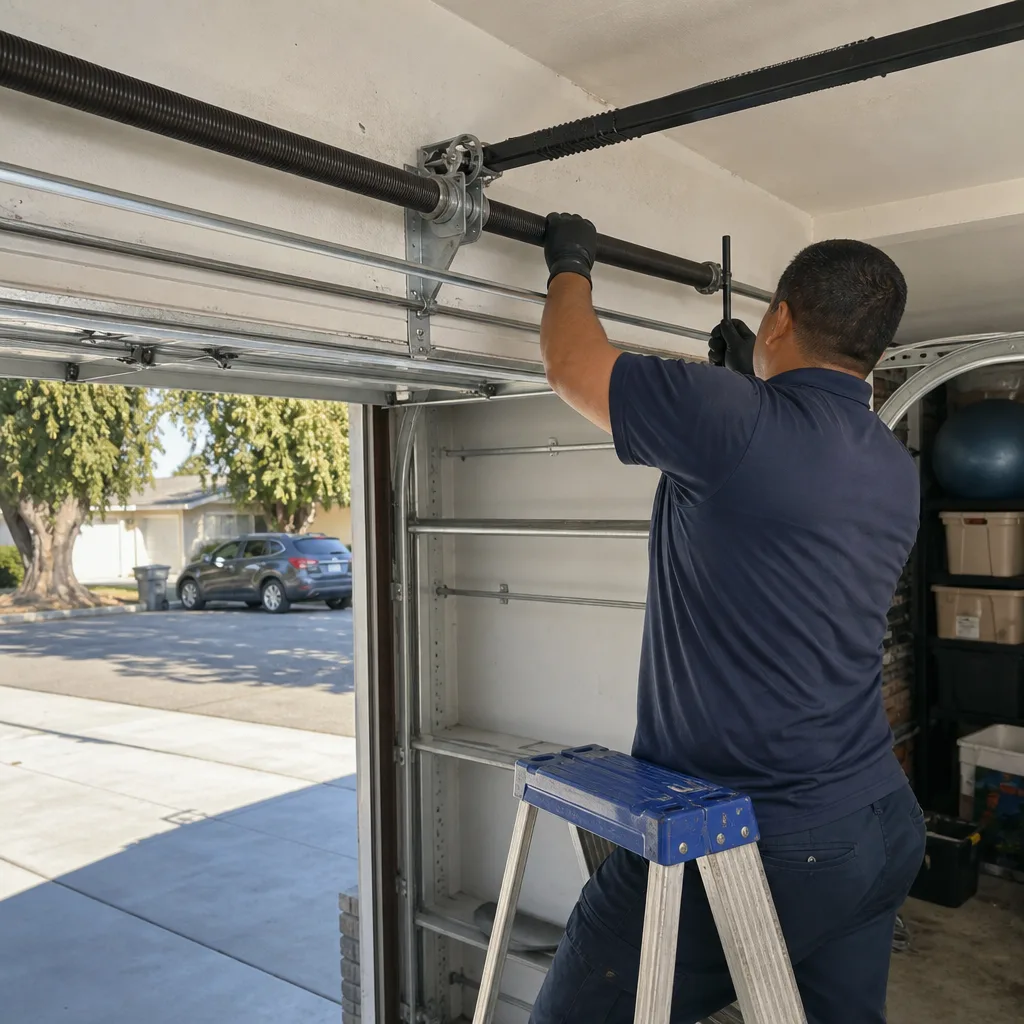 After